Suzuka’s 130R and the S Curves: F1’s Most Technical Corners Explained
Two sections of the Suzuka International Racing Course separate this circuit from every other on the Formula 1 calendar. The S Curves that open the lap and the 130R left-hander near its end test opposite skills at comparable speeds, and together they explain why drivers consistently rank Suzuka as the most rewarding track to get right.
The S Curves: Turns 1 Through 7
Five Direction Changes With No Room to Breathe
The S Curves begin immediately after the start/finish straight and run through five rapid direction changes between Turns 1 and 7. Entry speed sits around 260 km/h, and the car is constantly loading and unloading lateral force as it switches from left to right and back again. There is no straight section between the corners. Each apex feeds directly into the next, and the driver must commit to the racing line through the entire sequence without hesitation.
What makes the S Curves so demanding is that each corner in the sequence has a slightly different radius and speed. The first S is the fastest, taken in the highest gear with the car close to its aerodynamic limit. The sequence tightens progressively through the middle elements before opening slightly at the exit of Turn 7. The margins between a perfect run and a lost tenth are measured in centimeters of car placement.
When Suzuka was designed in the early 1960s, each of the bends that make up the S Curves was a proper braking zone, even with cars producing a fraction of the power available today. Modern F1 machinery devours the section with no more than a mix of full throttle and brief throttle lifts. That speed compresses every decision into a smaller window and leaves almost no time to correct a mistake at the entry before it compounds through the rest of the sequence.
Why the S Curves Define a Fast Lap
Sector 1 times at Suzuka are dominated by performance through the S Curves, and a clean run through this section is the single biggest factor in a competitive qualifying lap. A small error at Turn 1, entering a fraction too fast or a few centimeters too wide, carries through every subsequent corner. By the time a driver reaches Turn 7, even a minor misplacement at the first apex can cost two or three tenths.
The S Curves also punish car setup compromises more than almost any other section in Formula 1. A car that is strong under braking or on traction out of slow corners can compensate elsewhere on the calendar. At Suzuka, the S Curves demand aerodynamic balance and mechanical grip at high speed through rapid transitions. There is no braking zone to reset between corners, so the car must respond to each change of direction without delay. Teams that get the front-to-rear balance wrong through this section lose time that is very difficult to recover on the rest of the lap.
130R: Turn 15
A Corner Named for Its Radius
The 130R is a sweeping left-hander named for its original 130-meter radius. It sits near the end of the lap, approached down the back straight at close to 320 km/h in eighth gear. The car runs at or very near its maximum lateral grip for the duration of the corner, pulling approximately 3.5 lateral G through the apex.
In the 1980s and 1990s, the 130R was one of the most feared corners in Formula 1. The surface was bumpy, the run-off was limited, and the speed required to take it flat demanded total confidence in the car. It was the corner that separated drivers who trusted their machinery from those who hesitated, and it punished both groups with equal severity when conditions changed. Gravel traps and barriers sat close to the track edge, and any loss of control at that speed left almost no time to react.
The corner became the site of committed overtaking moves, with drivers placing their car alongside a rival at 300 km/h knowing that any contact would send both into the barriers. It was this combination of speed, consequence, and proximity that made the 130R one of the most talked-about corners in the sport.
The 2002 Redesign and Its Legacy
Allan McNish’s high-speed crash at the 130R in 2002 qualifying forced a rethink of the corner’s safety profile. His Toyota TF102 vaulted the barrier after hitting a bump at the center of the corner, recording a 69G impact. McNish was not seriously injured, but the accident exposed how little margin the original layout offered at modern F1 speeds.
Track officials redesigned the 130R as a double-apex section. The first element has an 85-meter radius, followed by a second with a 340-meter radius. The revision removed the bump that had unsettled cars for years and created a wider, more flowing line through the corner. Tarmac run-off replaced the gravel, and the approach to the Casio Triangle chicane was brought closer to the 130R exit.
Today’s F1 cars take the revised 130R flat out. The corner is no longer the survival test it was in the 1990s, but the speed and commitment required remain significant. A mistake at the entry still carries the car wide toward the run-off boundary, and the transition from full lateral load into the braking zone for the Casio Triangle demands that the driver releases the steering at exactly the right moment. Taking the 130R well is about carrying maximum speed through the apex and arriving at the chicane in the best position to brake late and gain time on the final sector.
What the Two Sections Reveal About Suzuka
The S Curves and the 130R test different aspects of a driver and a car, but they share a common demand: sustained commitment at high speed with no opportunity to pause or reset. In the S Curves, the challenge is repeated direction changes that require the car to transition smoothly and the driver to place it within centimeters of the ideal line through five consecutive apexes. At the 130R, the challenge is a single sustained load at the limit of grip, where the car must hold its line for the full arc of the corner.
Together, these two sections explain why Suzuka is a circuit where the best drivers and the best-balanced cars tend to stand out. A car that is fast through the S Curves but unstable at the 130R, or vice versa, faces a setup compromise that is hard to resolve. The track rewards machinery that works well across a range of speeds and cornering types, and it rewards drivers who can commit fully to both the rapid transitions of the S Curves and the sustained g-force of the 130R without backing off.
That combination is what makes Suzuka unlike any other circuit in Formula 1.
Want more F1Chronicle.com coverage? Add us as a preferred source on Google to your favourites list for the best F1 news and analysis on the internet.
From F1 news to tech, history to opinions, F1 Chronicle has a free Substack. To deliver the stories you want straight to your inbox, click here.
For more F1 news and videos, follow us on Microsoft Start.
New to Formula 1? Check out our Glossary of F1 Terms, and our Beginners Guide to Formula 1 to fast-track your F1 knowledge.
Sources
Comments
More in News
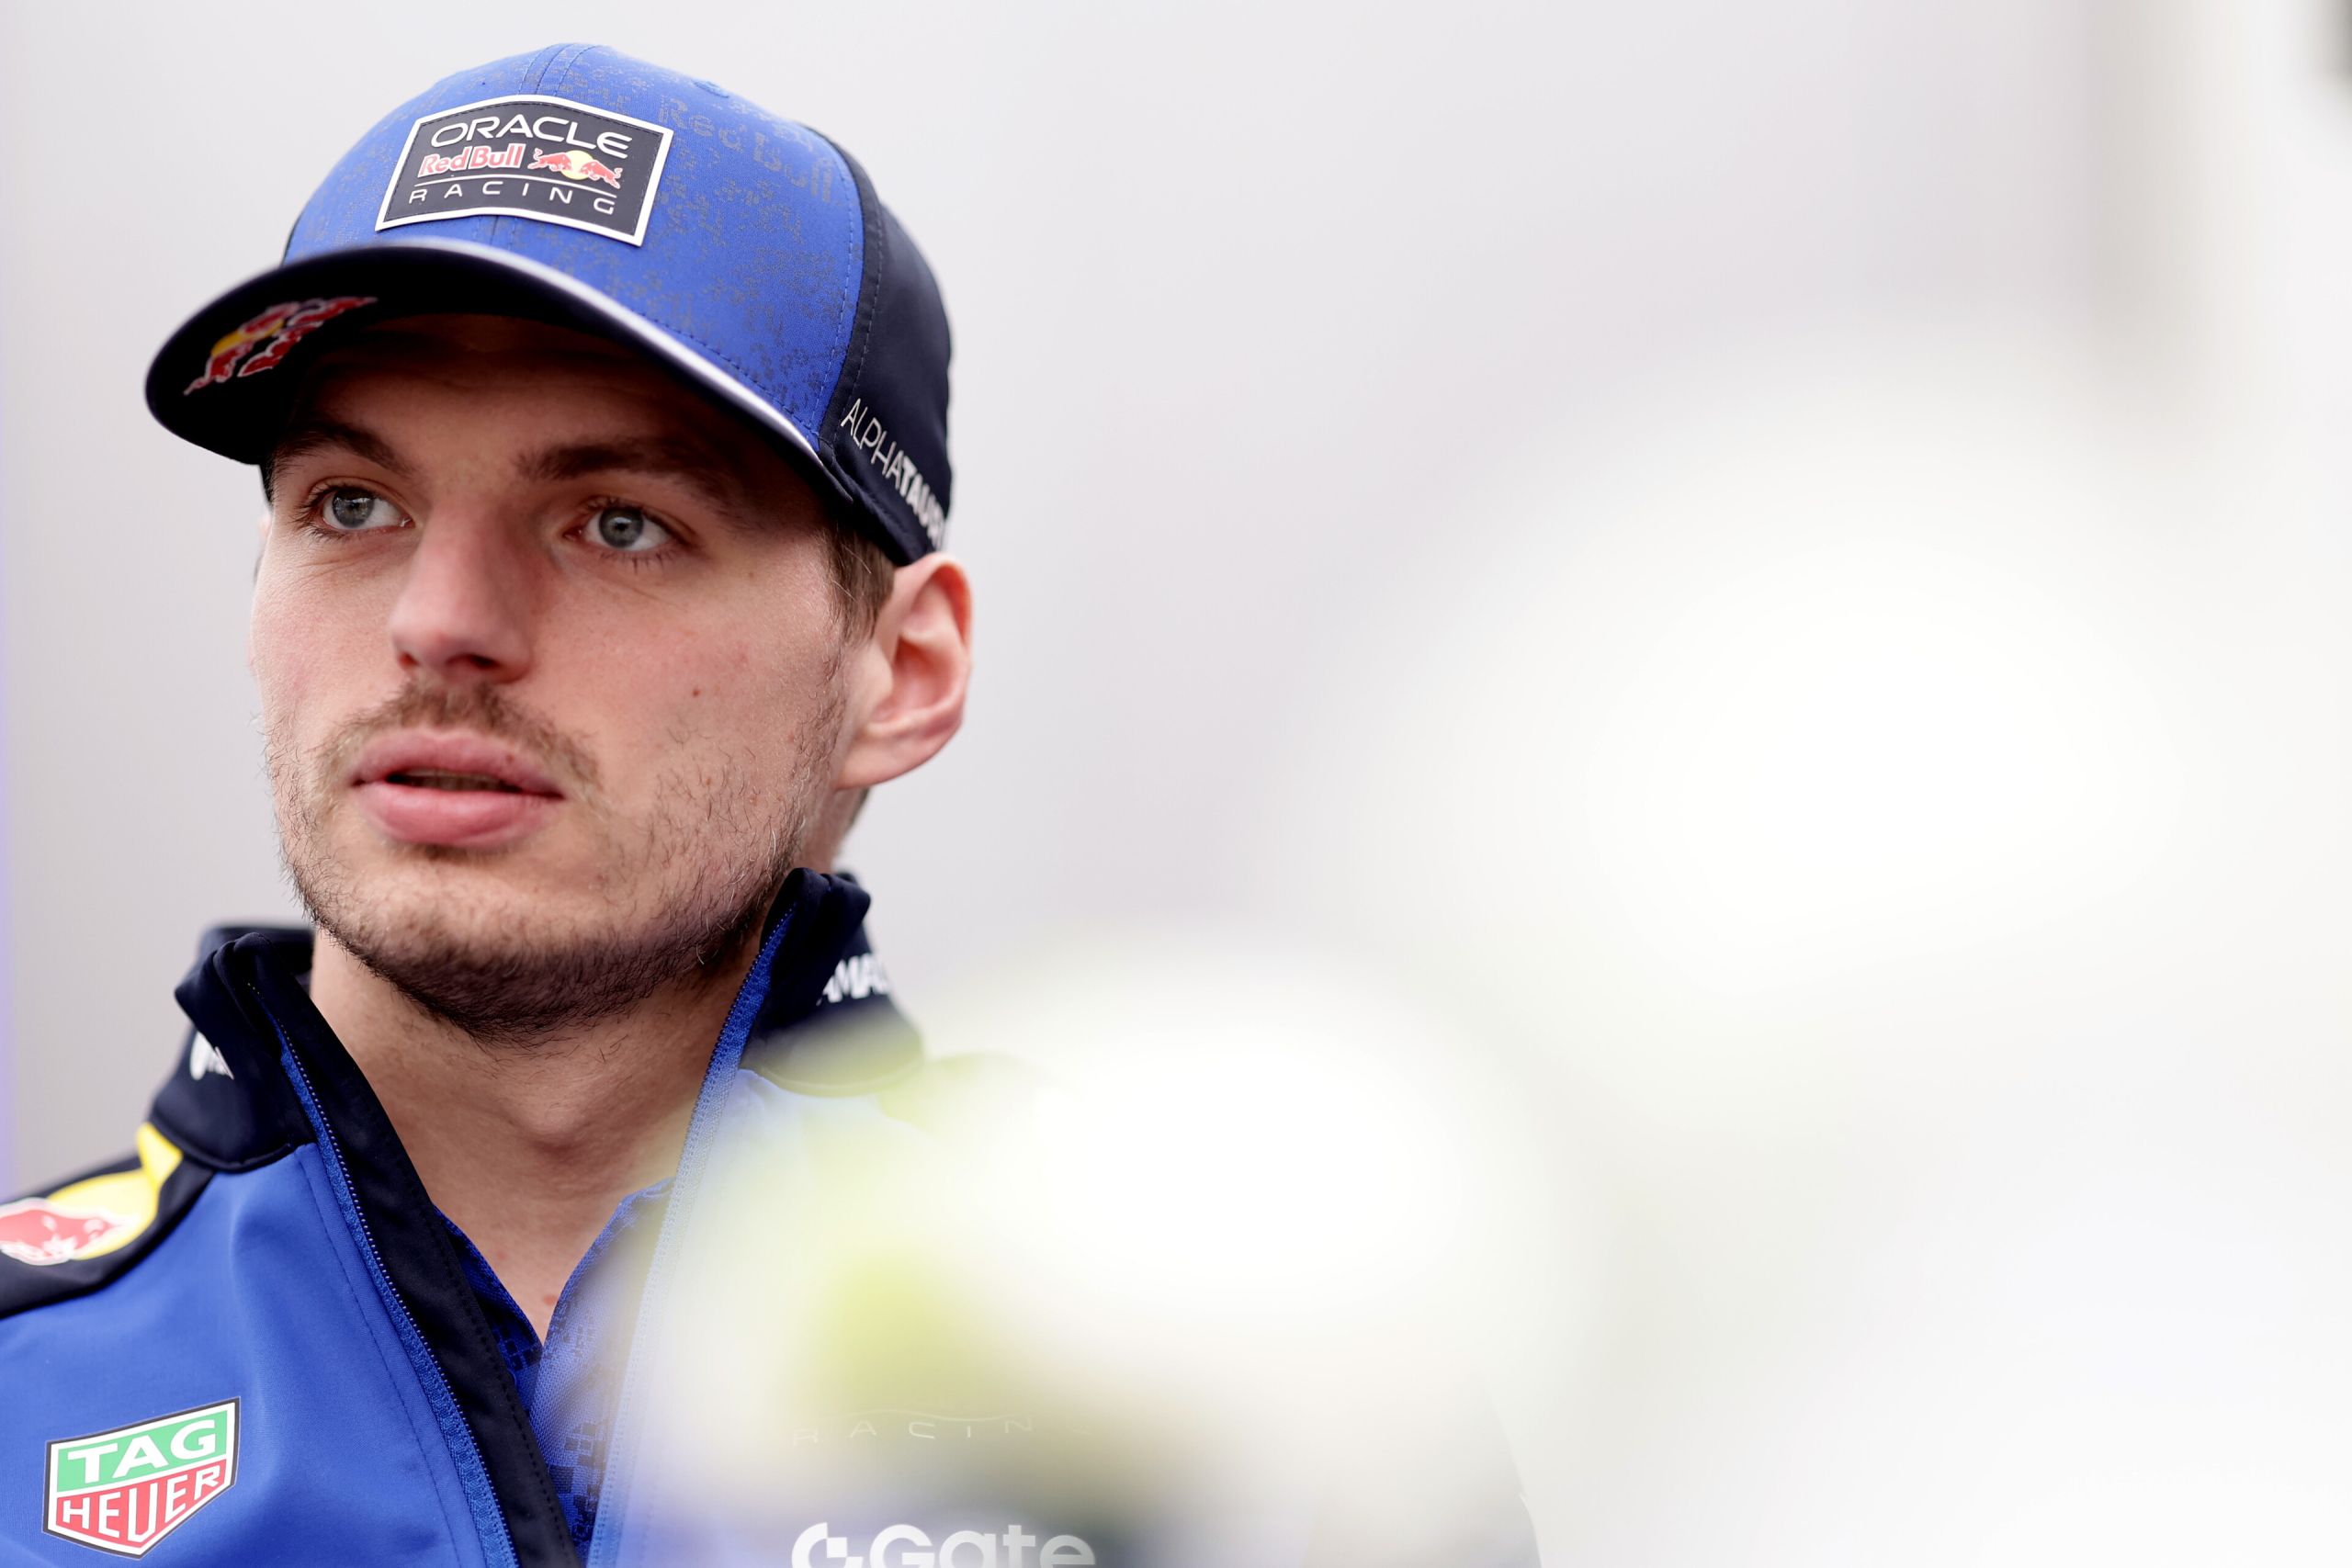
‘I’m not speaking before he’s leaving’, Verstappen ejects journalist from Japanese GP media session

‘Maintaining qualifying as a performance challenge’, FIA adjust qualifying rules for Japanese GP

Lewis Hamilton Net Worth and Salary: Ferrari Contract, Sponsors, and Business Empire
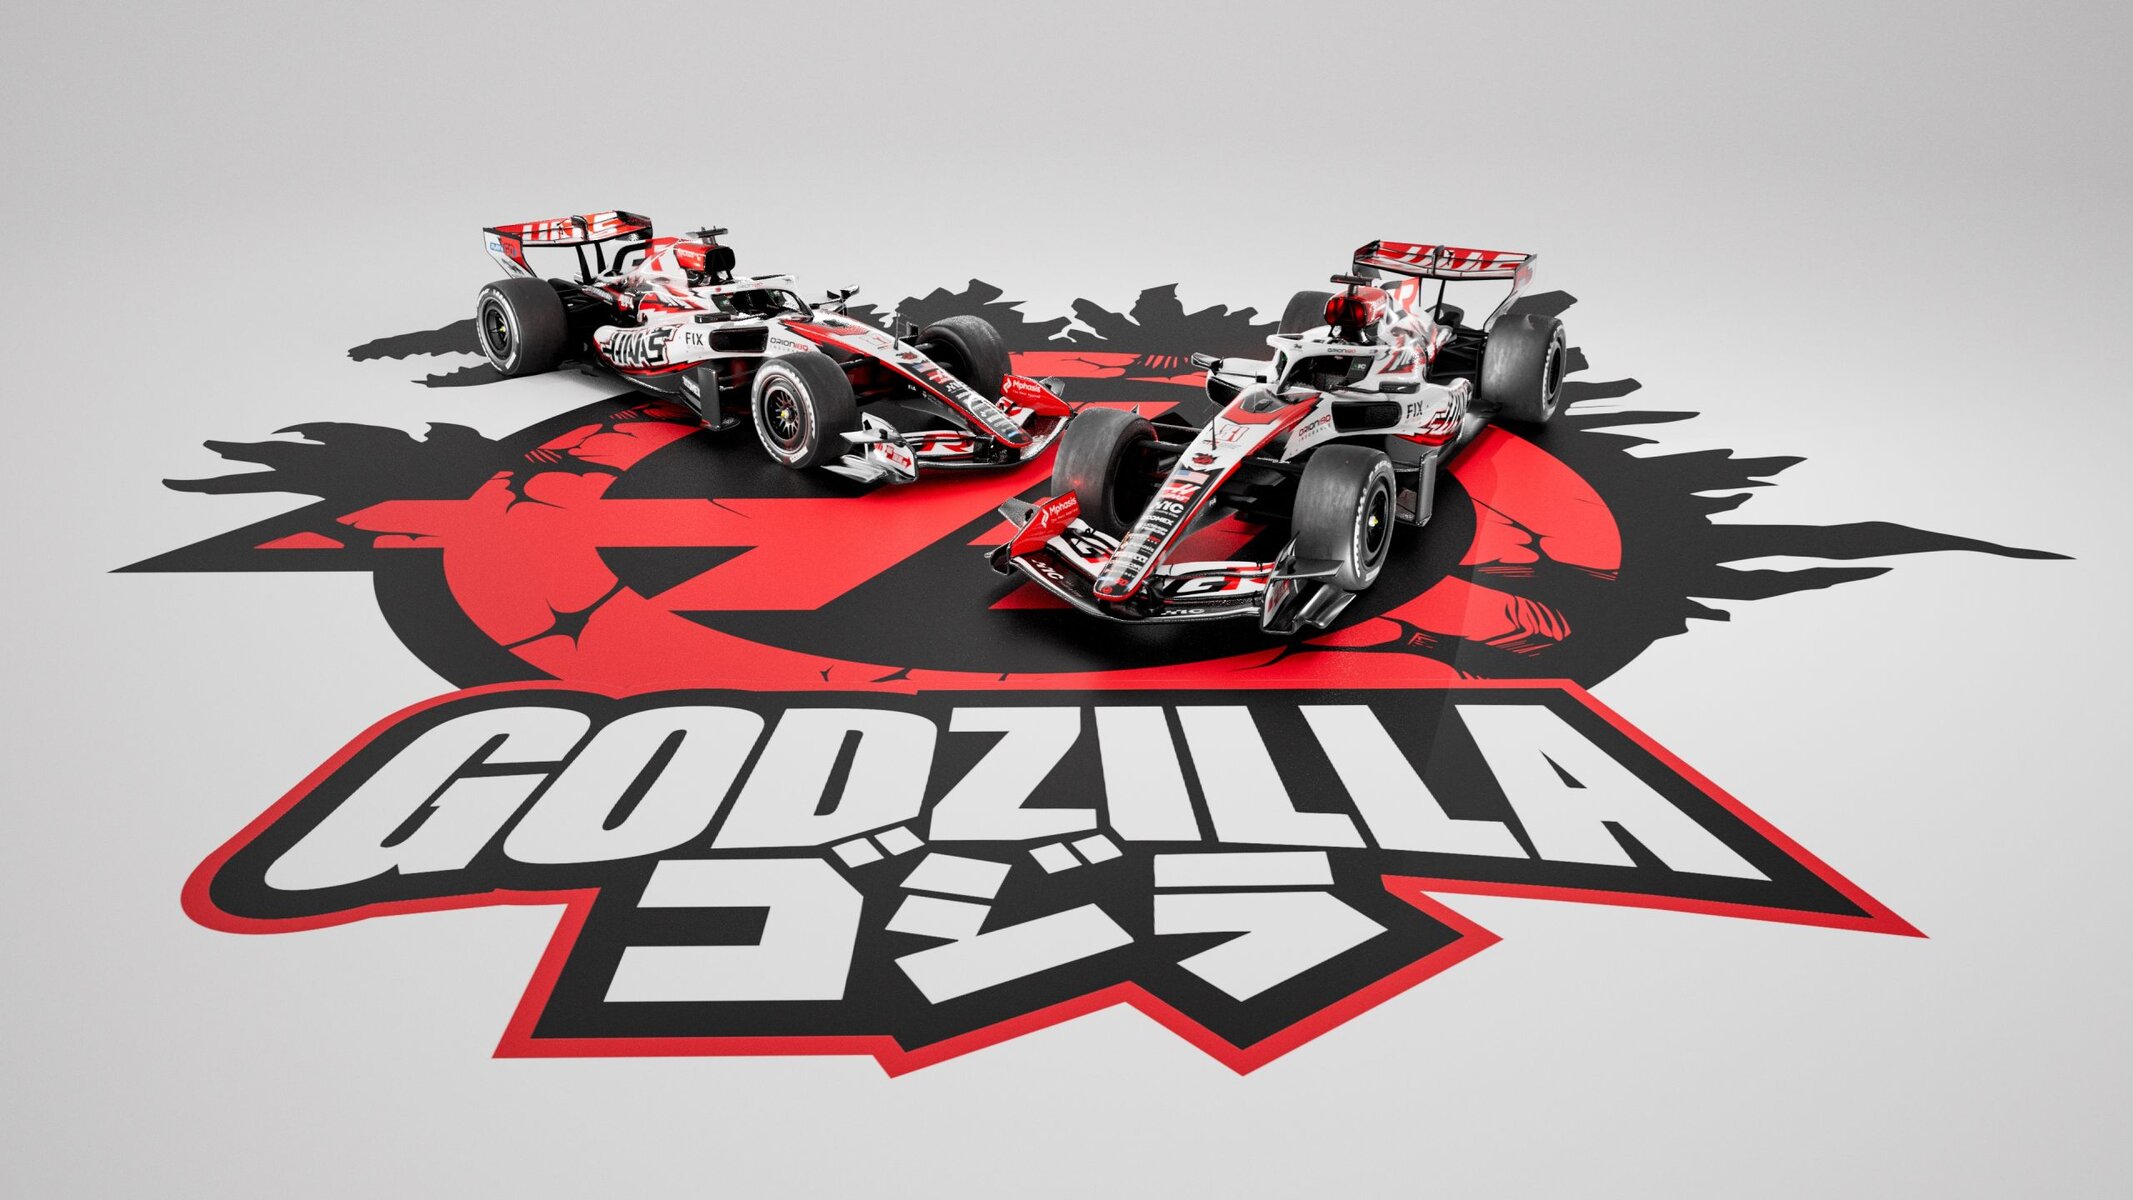
Godzilla themed Haas F1 Team car unveiled for the Japanese Grand Prix